BS”D
This is Part 3 of the DIY Home Shatnez Lab Series where we cover a basic tutorial on how to acquire a fabric fiber specimen.
Here is what we need in order to acquire our fabric specimen.
Materials
- Fabric Samples of 100% Cotton, 100% Linen, 100% Wool, 100% Silk, 100% Polyester, 100% Rayon, 100% Nylon
- Scissors
- Seam Ripper
- Eye Dropper Bottle of Filtered Water or Olive Oil
- Microscope Slide and Cover
- Monocular Compound Student Microscope with USB Camera
Fabric Samples
You can acquire swatches of fabric from fabric stores online. Some stores provide free fabric swatches while others charge. However, in our experience, sometimes stores that have been in business for a long time occasionally mislabel a fabric content or not provide an adequate label. For example, a store may exclude spandex in a fabric label even though the fabric is stretchy. Or a store may not know the actual content of a fabric and only label it partially, e.g. Wool Blend or Cotton Blend.
Wool and Linen are often combined with other fabrics and are often mislabeled or inadequately labeled. For beginners, it’s better to start with pure fabrics that are not blended, such as 100% Cotton, 100% Polyester, 100% Rayon, 100% Wool, 100% Linen, etc. After training one’s eyes to recognize fibers from these fabrics independently, then start acquiring swatches for blended fabrics and work from there.
You can also look for old clothing in your home whose labels are still visible. Otherwise, it’s better to get swatches from fabric stores.
Fabric, Yarn and Fibers
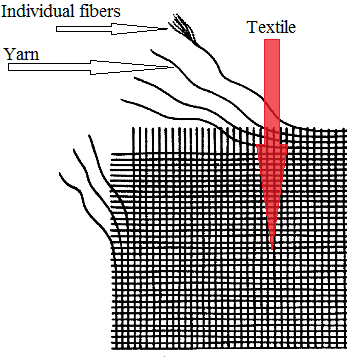
A piece of fabric is constructed out of horizontal and vertical yarns. Each piece of yarn is made up of twisted fibers. What we need is an individual yarn of about 5-mm in length and then we need to split the yarn into its individual fibers to be magnified under our microscope.
In a pure piece of fabric, we only need to extract either the vertical or horizontal yarn. In a blended fabric however, we may need yarns extracted from both directions.
- With a seam ripper and scissors, remove about 5-mm length of yarn from the fabric.
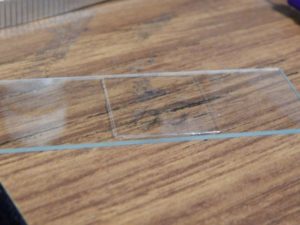
- Place a yarn on a clean microscope slide.
- With tweezers (left) and the seam ripper (right), split the yarn into its individual fibers.
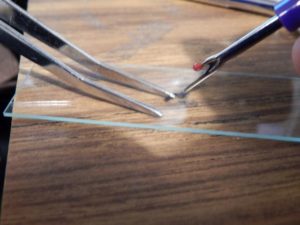
With tweezers (left) and seam ripper (right), separate the cut 5-mm yarn into single fibers.
- Spread out the fibers centered on the slide. Add a drop of water or olive oil with an eye dropper.
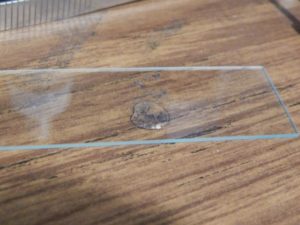
- Place the slide cover on the specimen.
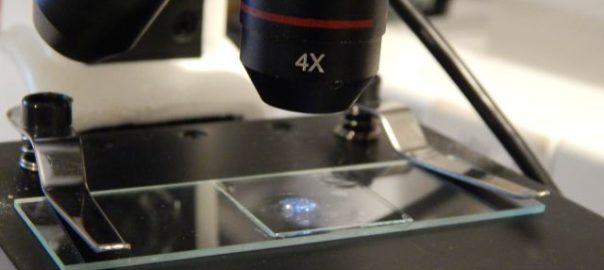
- Place the slide on the microscope stage and secure it with the stage clips.
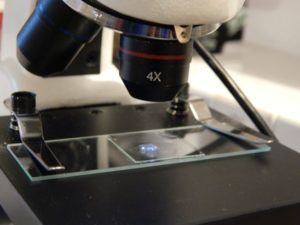
- View the specimen on your computer through the 4X, 10X and 40X Objective lens, adjust the focus and capture an image of the specimen (See this article on how to set up your specimen for viewing).
- Release the staging clips, adjust the position of the slide and the focus knob to capture different views of the specimen.
In the next segment, we will describe the particular features of the pure fabric fibers we have collected.